A well-crafted wooden gun case offers a unique blend of protection, aesthetic appeal, and personalization. Adding adjustable dividers further enhances its utility, allowing for secure and tailored storage of various firearms and accessories. This article outlines the steps involved in building a custom wooden gun case with adjustable dividers, catering to the specific needs of the gun owner.
I. Planning and Material Selection
A. Determine Dimensions and Configuration:
1. Gun Dimensions: Carefully measure the length, width, and height of the largest firearm to be stored. Add a few inches to each dimension to accommodate padding, dividers, and a secure closure.
2. Case Shape: Decide on the desired shape of the case. A traditional rectangular shape is the most common, but you can explore alternatives like a trapezoidal design for enhanced carrying convenience.
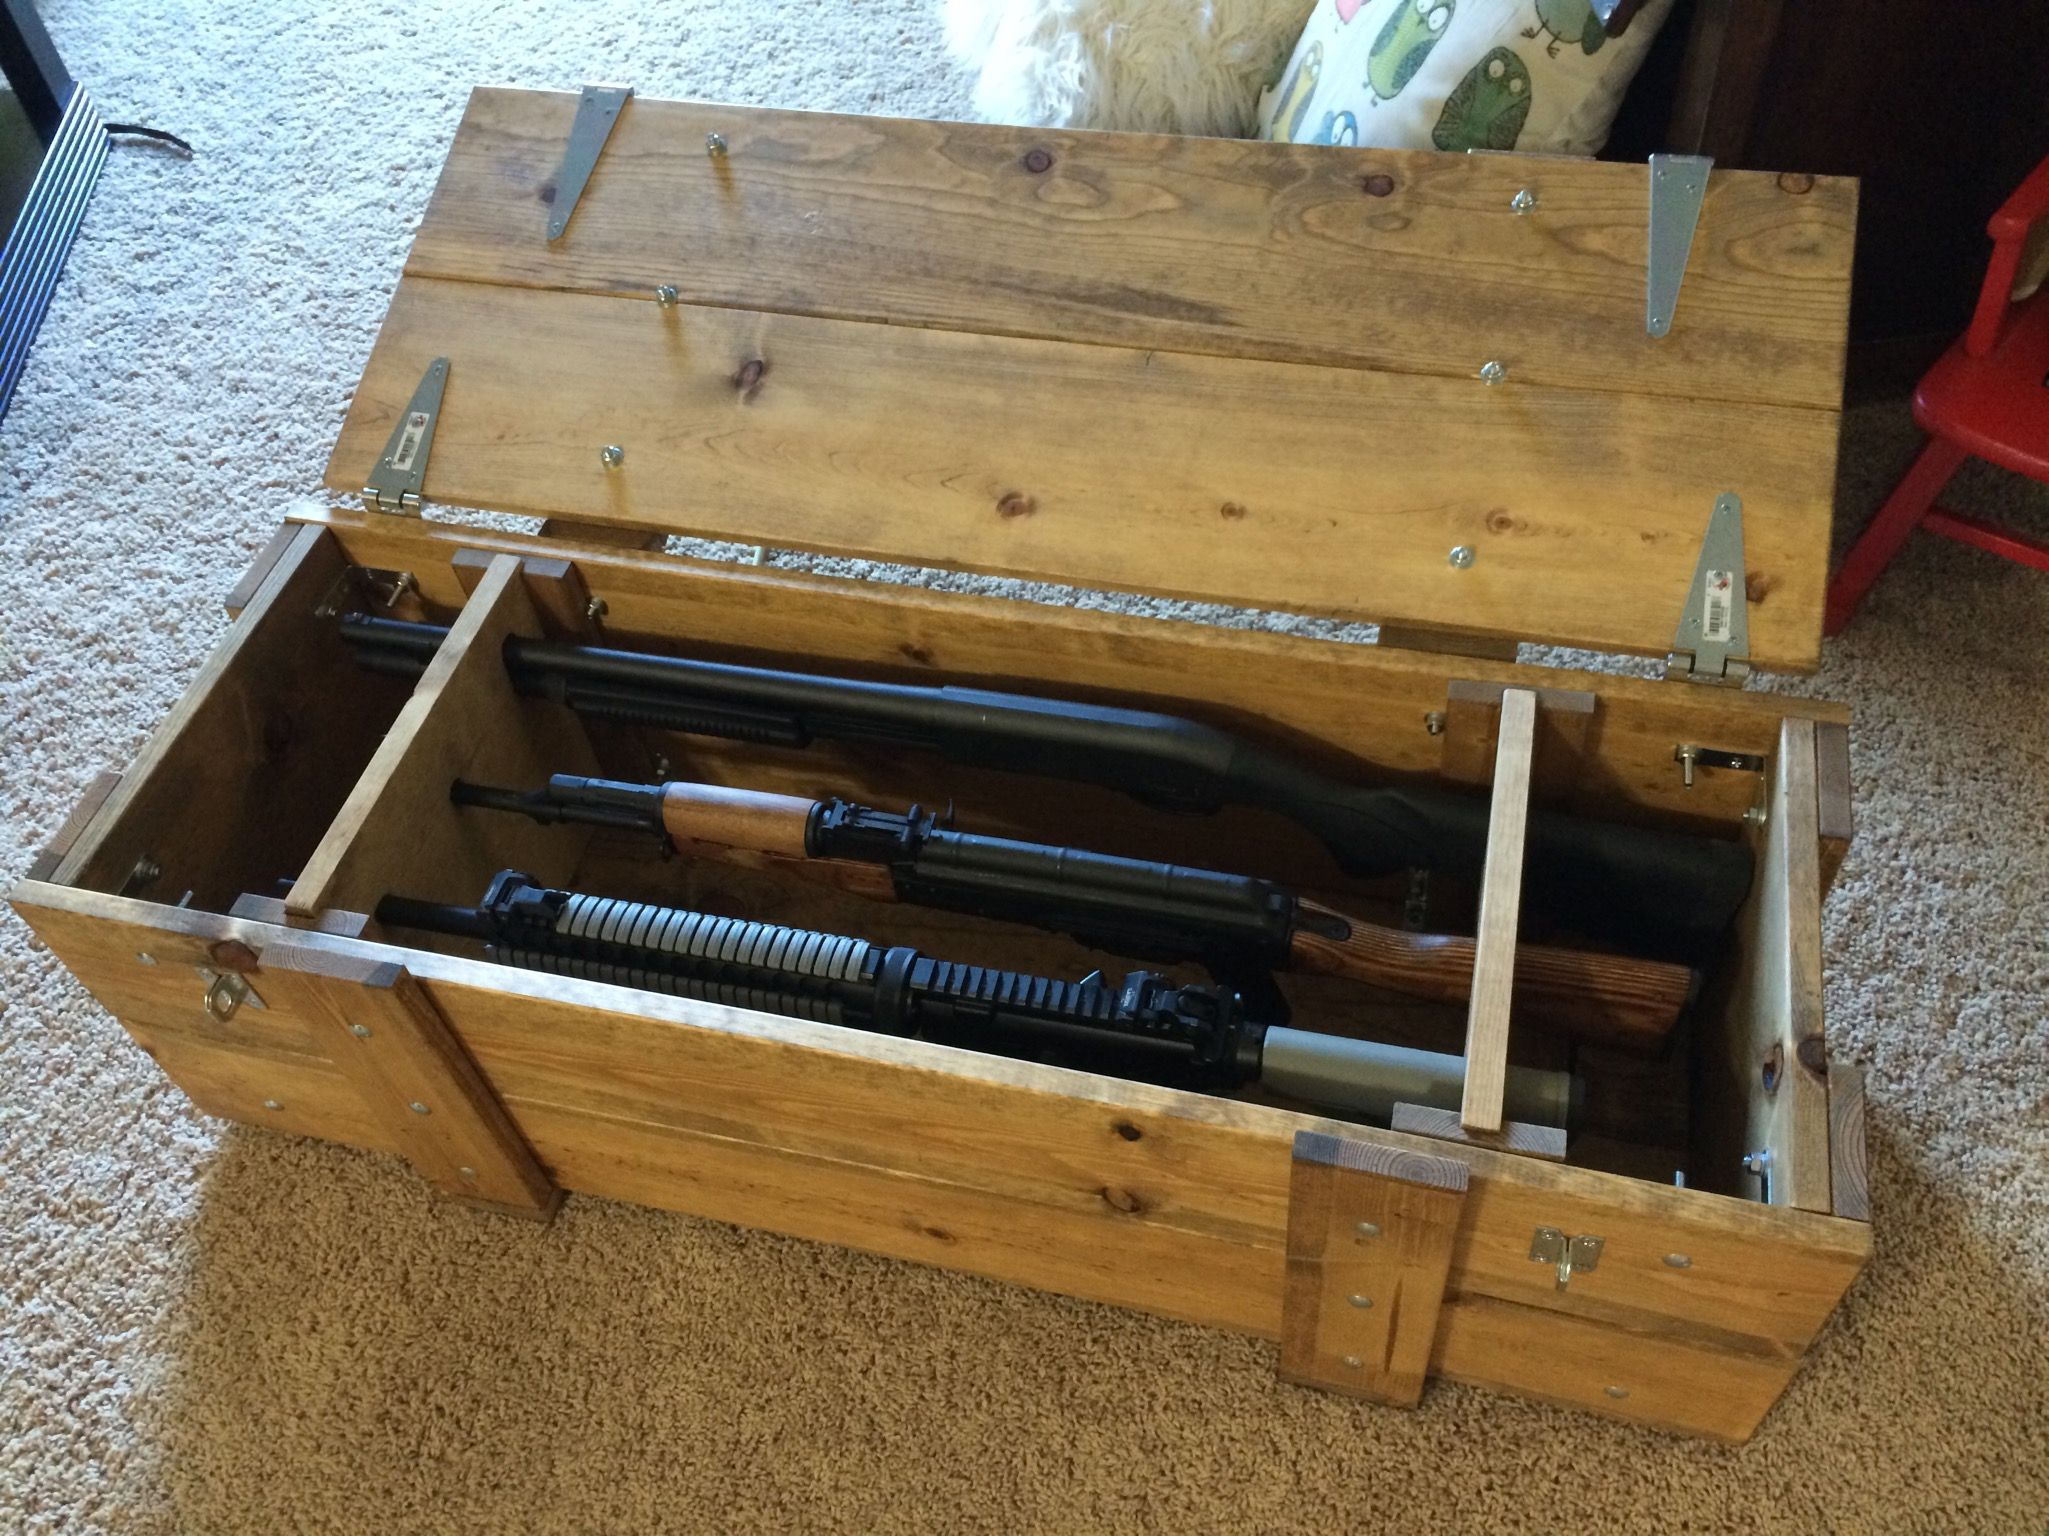
3. Divider Configuration: Consider the number and placement of dividers required to efficiently organize the firearms and accessories.
4. Additional Features: Plan for any optional features such as a lock, carrying handle, or decorative elements.
B. Choose Materials:
1. Wood: Opt for hardwoods like oak, maple, or walnut for durability and aesthetic appeal. Consider the thickness based on the size of the firearm and desired strength.
2. Padding: Use foam padding for the case's interior to protect the firearms from impact and scratches.
3. Dividers: Choose a strong and lightweight material for the dividers. Plywood or MDF works well, and you can easily customize their shape and size.
4. Hardware: Select quality hinges, latches, handles, and screws for long-lasting performance.
5. Finish: Choose a wood finish that complements the chosen wood and offers protection. Oil finishes, polyurethane, or varnish are all viable options.
II. Cutting and Assembling the Case
A. Cutting the Case Components:
1. Case Sides: Cut two identical pieces of wood for the sides of the case, taking into account the desired thickness and the dimensions determined in the planning phase.
2. Case Top and Bottom: Cut one piece for the top and one for the bottom of the case, ensuring they are the same width as the sides and long enough to accommodate the firearm.
3. Divider Material: Cut the divider material into the desired shape and size, allowing for a tight fit within the case.
B. Assembling the Case:
1. Jointing: Use a woodworking glue and dowels, biscuits, or other joining techniques to create strong and durable joints between the sides, top, and bottom of the case.
2. Clamping: Securely clamp the joined pieces together, allowing the glue to dry completely before proceeding.
3. Adding Dividers: If using adjustable dividers, create slots or grooves in the case's sides to accommodate the dividers' movement. Ensure these slots are aligned to maintain the integrity of the case.
III. Constructing the Adjustable Dividers
A. Designing the Dividers:
1. Shape and Size: Determine the shape and size of the dividers to accommodate the various firearms and accessories. They can be straight, angled, or even curved to optimize space.
2. Attachment Mechanism: Choose a method for attaching the dividers to the case. Common options include slots, grooves, or a track system.
B. Creating the Dividers:
1. Cutting: Cut the divider material to the desired dimensions, considering the thickness and the attachment mechanism chosen.
2. Sanding: Smooth the edges of the dividers to prevent scratches on the firearms.
3. Finishing: Apply a finish to the dividers, matching the finish of the case for a cohesive look.
IV. Interior Padding and Hardware Installation
A. Padding the Case:
1. Foam Selection: Choose a dense foam padding that provides adequate cushioning and protection.
2. Cutting and Installation: Cut the foam to fit the interior of the case and secure it with glue or staples. Ensure the padding completely covers the case's interior to protect the firearms from impact.
B. Installing Hardware:
1. Hinges: Attach the hinges to the case sides and the top or bottom, ensuring a smooth and secure fit.
2. Latches: Install the latches on the case lid and the bottom, ensuring proper alignment for a secure closure.
3. Handles: If using a carrying handle, attach it to the case's top or side in a location that offers easy access.
V. Finishing Touches and Finalization
A. Applying the Finish:
1. Preparation: Sand the entire case to ensure a smooth surface for the finish.
2. Application: Apply the chosen finish following the manufacturer's instructions. Multiple coats may be necessary for optimal protection and aesthetics.
3. Drying: Allow the finish to dry thoroughly before handling the case.
B. Finalizing the Case:
1. Testing: Thoroughly test the functionality of the hinges, latches, and dividers.
2. Customization: Add personal touches to the case, such as branding, engravings, or decorative elements.
3. Storage: Store the case in a dry and well-ventilated environment to prevent moisture damage.
VI. Maintenance and Care
A. Regular Cleaning:
1. Dust Removal: Regularly dust the case's exterior and interior to prevent dirt buildup.
2. Cleaning: Clean the case with a mild soap and water solution, avoiding harsh chemicals that may damage the finish.
B. Inspecting and Repairing:
1. Regular Checks: Inspect the case's hinges, latches, and dividers for any signs of wear or damage.
2. Repairs: Promptly repair any damage to ensure continued functionality and protection of the firearms.
VII. Safety Considerations
A. Secure Storage:
1. Lock: Consider adding a lock to the case to prevent unauthorized access to the firearms.
2. Secure Location: Store the case in a safe and secure location, away from children and unauthorized individuals.
B. Firearm Safety:
1. Responsible Ownership: Always practice responsible firearm ownership, following all applicable laws and regulations.
2. Safe Handling: Handle firearms safely and with respect, adhering to proper safety protocols.
Conclusion:
Building a custom wooden gun case with adjustable dividers allows for a tailored and secure storage solution for valuable firearms and accessories. By carefully planning, choosing quality materials, and following the outlined steps, gun owners can create a beautiful and functional case that not only protects their firearms but also reflects their individual style and preferences. Remember to prioritize safety throughout the process, ensuring responsible storage and handling of firearms.
0 comments:
Post a Comment